Fibreglass repairs are easier than you think. With the right knowledge and planning repairs can be completed cheaply, fast and most importantly safely . This tutorial includes a demonstration of a basic fibreglass repair as well as a list of places to buy the materials affordably.
Table of Contents
What You Will Need


![]()


![]()
Stage 1 – Pick The Right Time
There are many factors that come into play when preparing to undertake a fibreglass boat repair. If you are working both inside and outside, planning is required to achieve the correct temperature. For our repair we will use polyester resin throughout. Both polyester and epoxy resins have an optimum drying temperature, meaning that you should only plan work for days that are dry, warm and sunny whilst working outdoors. Always keep in mind that the warmer the air temperature, the quicker the drying time. Too early in the morning and the atmosphere is often damp and humid; night time is often too cold. This means the best time to start your project is late morning when you have the whole day ahead.
Stage 2 – Removing Fixtures
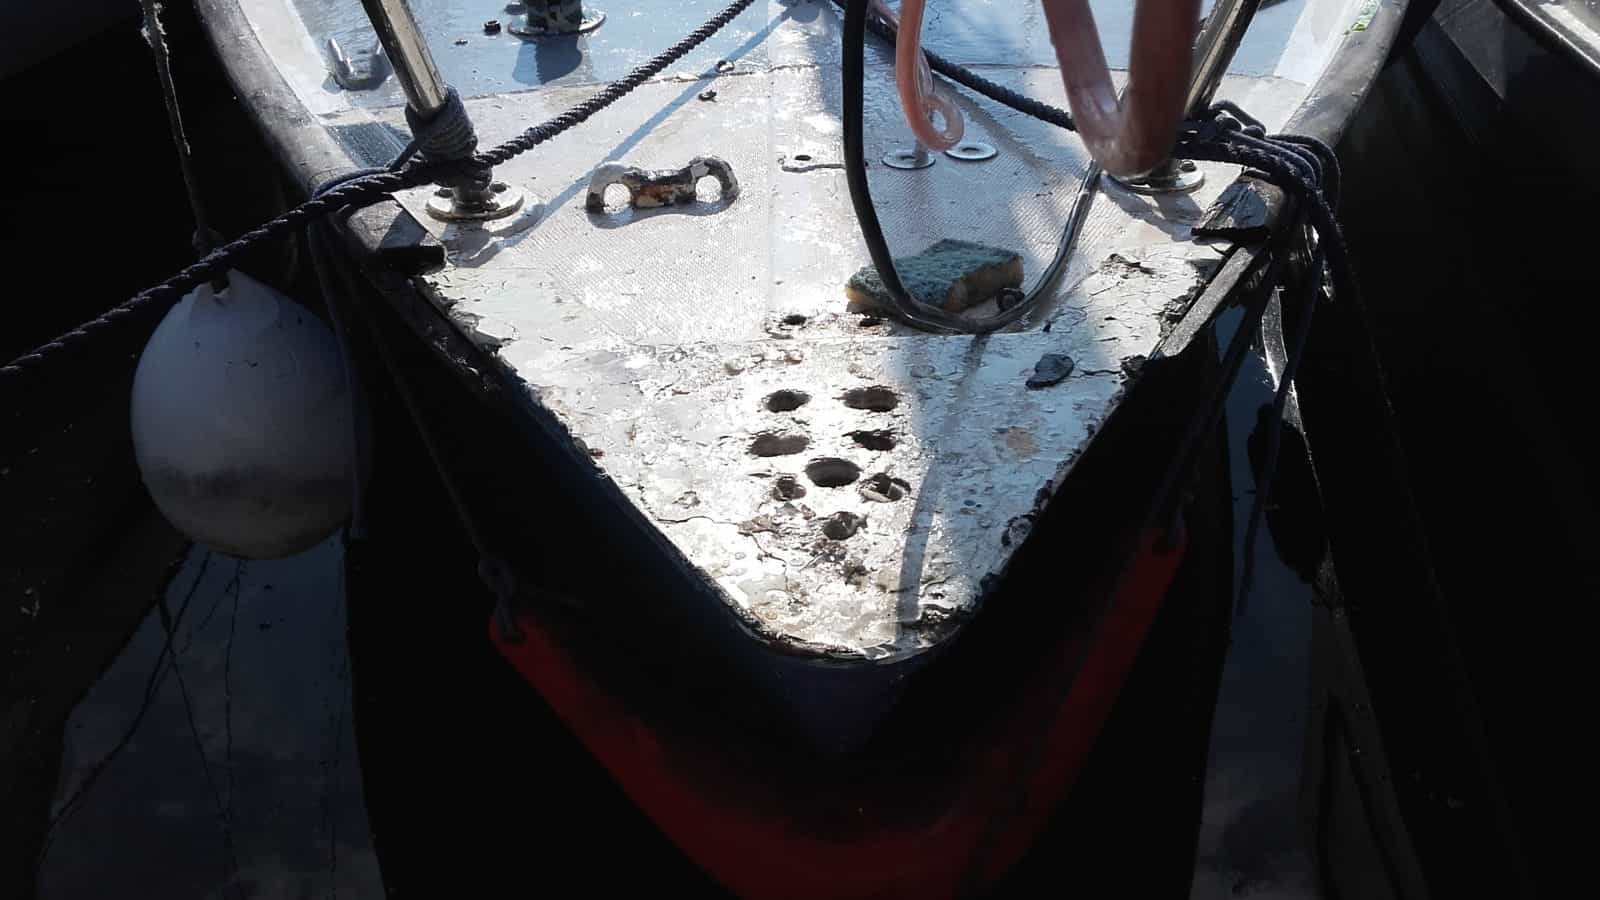
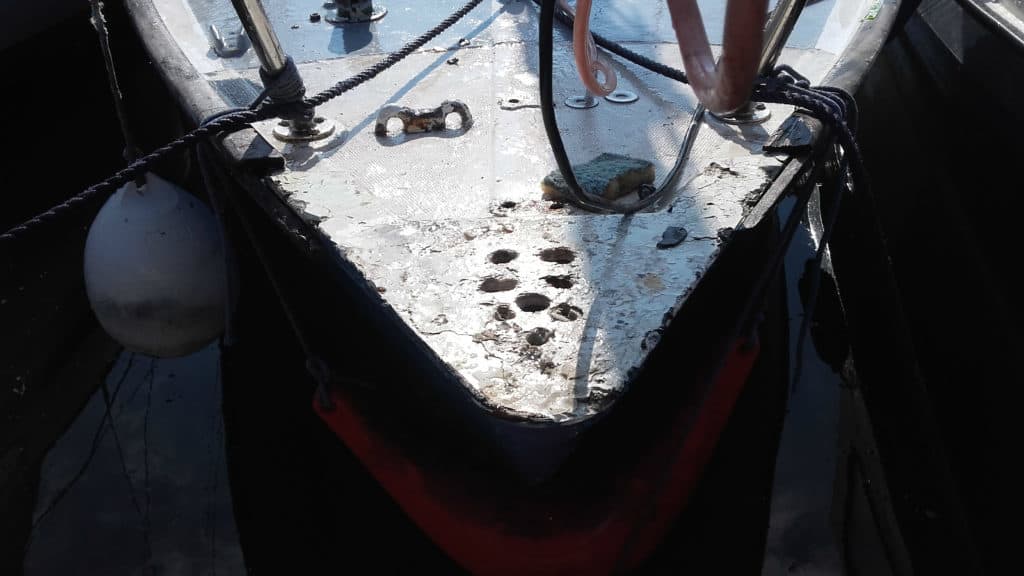
Resin is very hard to remove especially if you’ve allowed it to set. If you spill, paint or splatter resin on any deck fittings or equipment, they can be extremely hard to clean up. Remove all of your fittings in the area you wish to work in; it may seem like a lot of effort but it will make the job a lot easier in the long run. Deck fittings will often require two people to undo. For our example, we have a bow plate that needs to be completely removed. This job requires someone on top holding a socket or spanner, and one person in the boat underneath (who’s job it is to stop the nut turning). Providing the nuts and bolts aren’t rusted, this job should be fairly easy but be prepared for some hard work if not.

Stage 3 – Cleaning The Area
In order to see the extent of the damage to your fibreglass boat, you will need to clean the area. Water and a brillo pad or scourer will be perfectly adequate for this stage. You just need to get a clear idea of what damage has occurred and how it can be fixed.
Stage 4 – Planning Your Method
Now that your repair area is visible, a quick evaluation is needed at this point –
- Is the repair structural or aesthetic ?
- What is my required result: factory finish? looking good from a distance? the who cares bodge job?
- Have you got the right tools for job?
- Can you do this repair in the water?
- Will it damage or effect the boats in range to you?
- Will you need electric or hand tools ?
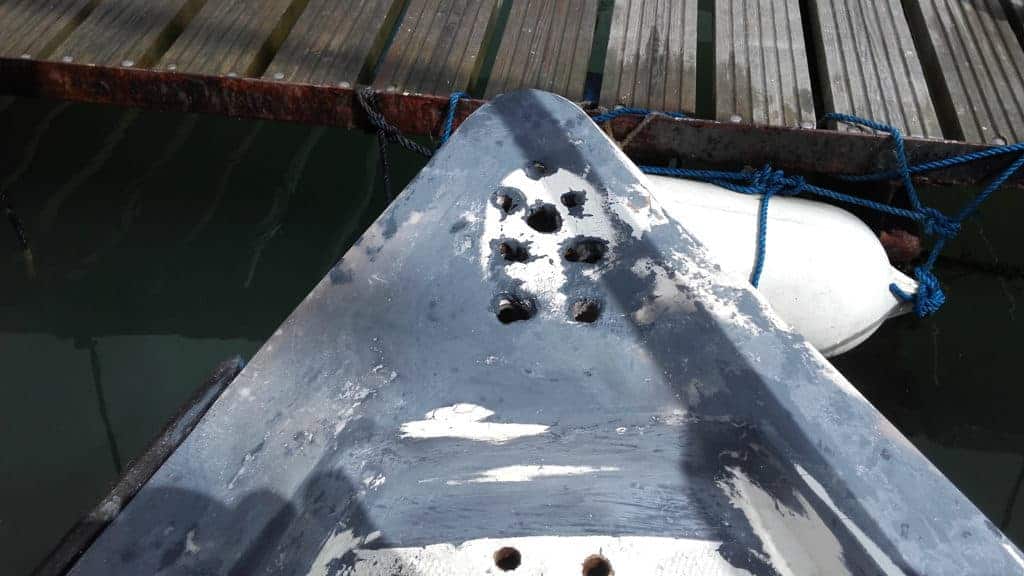
In our example, the bow plate area was damaged all over but whilst the repair would need both fibreglass and resin, it wasn’t majorly structural. A mixture of fibreglass strands and resin can be used to put some strength back into the area. This repair could be done in the water providing the dust was hoovered up, and care was taken to avoid pollution to marine life.
Stage 5 – The Prep
Sheet off the surrounding area if the repair could damage or affect a finished surface and tape any areas or lines that you do not want to be affected. Make sure the area is well hoovered, especially the section in which you plan to do the work. Wipe the area down with acetone to remove any left over dirt of grease. This stage is important as a resin adheres best to a clean greaseless substrate.
Stage 6 – Getting A Flat Surface
Sand the area with a long board and some low grit sandpaper. The lower the grit number, the larger the abrasive particles and the rougher the surface will be. At this point you need to thoroughly sand down the surface whilst grinding any Gelcoat or resin that is protruding. Make sure you hoover after as the area should be clean for the filling process.
Stage 7 – Filling In The Wholes
We want to fill all of the craters, cracks and damage with a strong resin and fibreglass mixture. Contrary to belief Automotive resin and fibreglass mixtures will work just fine for above the water line repairs. We recommend a polyester resin and fibreglass strand mixture because of its quick drying time and strength. This can be bought instore from Halfords or online at Amazon. Make sure you mix the catalyst and fibreglass strand resin to the manufacturer’s recommendations as whilst polyester resin is fairly forgiving the catalyst to resin ratio can sometimes effect strength and drying time.
- Make sure you wear protection (eye goggles, gloves, face mask.)
- A smooth disposable surface to mix on.
- Use a plastic applicator to cut the mixture thoroughly.
When your mixture is ready spread it over the entire area making sure all of the holes have been filled roughly. Now allow to set per manufacturers instructions usually 30 minutes – 1 hour. Don’t worry it won’t look good at this stage just hold in there!

Stage 7 – Re-Flattering The Surface
After your holes have been filled you want to flatten the area again. A longboard is better than an orbital sander and sheet sander because of its ability to create a continuous flat surface. Although it’s harder to do this work by hand with the right low grit sander paper the results will be better. This method is also quieter and can be done without an electric supply. Make sure you hoover the surface again after this stage.
Stage 7 – Priming The Surface
A polyester 2 part primer is now needed; by this point you should have a flat surface but not smooth. Mix your resin and catalyst then paint on the primer in thick coats. The primer can be laid on (painted) and layered whilst still tacky your aim here is to get as much primer on as possible to make sure all of the microscopic holes are filled before your last sand.
- Make sure you wear protection (eye goggles, gloves, face mask.)
- Use plastic solvent resistant cups for mixing.
- Use disposable sticks to mix.
- Use a syringe to measure the catalyst by the ml.
Stage 7 – Re-Flattering The Surface & Smoothing
Use a longboard again this time but this time with a smoother grit sand paper such as 80 grit and then progressing all the way to 400 grit and higher depending on the finish you want to achieve.
Stage 7 – Top Coat
Your top coat is where you decide on the finish quality and what is possible for your skill set. The ideal finish would be a polyester 2 pack paint such a Jotun Hardtop XP. This would mean you have used a polyester resin throughout your entire process – your filling , priming and topcoat. The results from 2 pack polyester paint are hard and can take a lot of punishment; however touching up in the future will require more effort.
In our example I chose a 1 pack marine paint due to its affordability, availability and no hassle application. This can be applied using the roll and tip method.
Done! Now You’ve Finished Your First Fibreglass Repair

