Table of Contents
LIVEABOARD -Jaguar 27
Taking The Plunge – Becoming A Live Aboard
When we got the Jaguar 27 it was in a “project boat” like state although someone had been living on the boat prior to us taking over the mooring. Luckily for us the boat was in a good enough state to keep it in the water and work in situ however it wasn’t in a liveaboard state. The boat had multiple topside leaks from windows, hatches, cable glands and deck fittings and pretty much anywhere else you could think of. As we were planning to live on the the boat it meant that the first port of call was to stop the major leaks so we decided to take on the deck fittings first. We went about re-sealing multiple fittings such as bow chocks, engine inspection ports, stanchion bases, stay fittings and many others with sikaflex 291l a marine sealant.
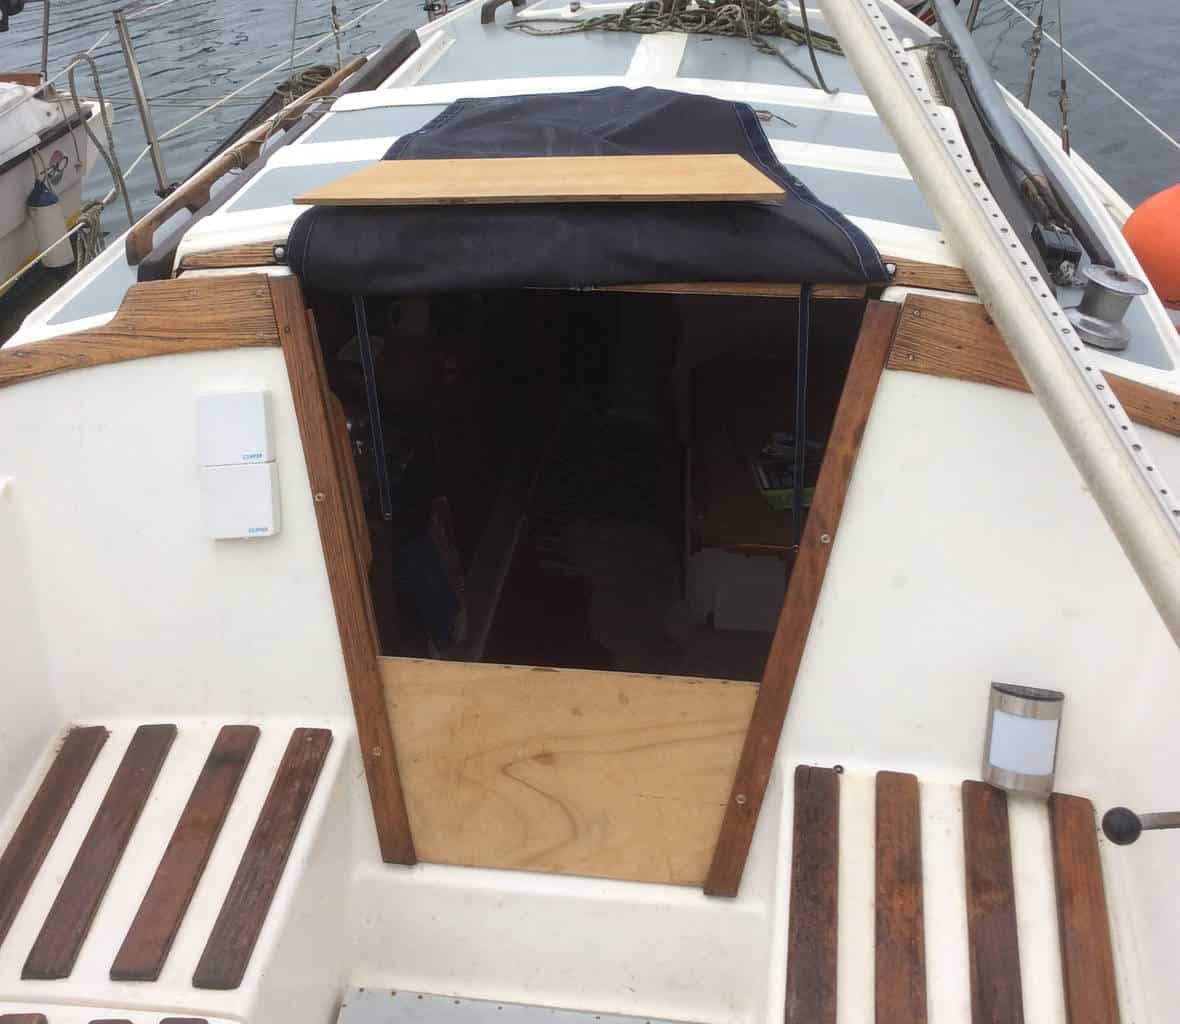
After the minor topside leaks had been plugged it was time to take on the majors- the hatch frame in the cockpit which gives access to the inboard engine had become rotten and loose and needed to be removed. The hatches position on the cockpit floor was in an area where it filled up, like a swimming pool, collecting all the water and expelling it via the aft section of the cockpit floor. As is the case for most Jaguar 27’s there were two thru-hull fittings used to take the water from the cockpit to the well at the stern of the boat. These did there job but would only work once the area had started to fill up with a sufficient amount of water. This meant water was pouring through the leaky hatch frame over the engine and into the bilge. A new hardwood teak frame had to be made and fitted with plenty of sealant, the cover above it was also shot and had to be re cut from marine ply, primed with Pre-Kote – International and finally painted with Interdeck International non-slip.
Marine Windows Are Messy.
The windows and frames on the yacht were old but the perspex was still intact meaning we thought we could get away with leaving them to last, although this is something we came to regret. Changing and re bedding windows is a massively messy job, not only do old frames accumulate a lot of dirt internally but they then require re-bedding with a suitable sealant. All we can say is always make your windows one of the first jobs on the list; you’re living on boat the amount of effort involved in the cleanup and preparation will outweigh the completion of the task.
Live Aboard Home Comforts
Now it was time to focus on the internal side of the boat project; our basic needs such as running water, heat, comfort and security. The boat required the water pump to be re-mounted and re-wired as it was no longer working, and running water for washing up makes all the difference in a liveaboard environment. Once this was completed we set about fixing the hot water on the boat, aka the 240v water heater; a marine calorifier which had been built specifically for marine use. For some reason it wasn’t working but with a little investigation we realised the calorifer had a built in trip, which would only engage if the tank became too hot. We pushed the trip-switch back in and lowered the temperature to somewhere around 60C using a thermostat dial located near the switch. We choose this temperature because it was hot enough to wash up with as well as making sure legionnaires disease couldn’t grow and reproduce in the hot water tank. The hot water was working it was now time to sort the toilet and other liveaboard needs.
The Toilet And Me.
Heads (toilets) on boats are at first a strange concept, even for a liveaboard, staring at what you ate for dinner yesterday in the face and attempting to pump the foul beast out of the boat isn’t great. Most marinas don’t allow toilets which pump out directly into the water and only allow boats with black water tanks. You should ideally collect your waste and pump it out in a dedicated disposal place. You can get away with a wee in the toilet but it’s just common decency to use the marina toilets for those trickier situations. The toilet on our boat was dated and wasn’t working; we could have scratched around for parts and spares but at the end of the day we were better off re-fitting a brand new Jabsco. The Jabsco is also a good model for being able to readily find spares for repairs which came in handy when we were servicing this boat for sale.
Turn Up The Heating
The next stage was warmth; electricity at the marina was paid for quarterly and more or less unlimited (within reason). This meant that warmth on the boat really wasn’t an issue. The heating mainly consisted of 5 elements – two 100 watt tube heaters, one in the v berth and a second in the half berth. Each tube heater attached to the roof and was out of harm’s way whilst sleeping. In the main cabin was a 500 watt oil heater which kept the temperature at a steady 18-20 Celsius in the daytime. In the really cold months a 2K fan heater on a thermostat controller was used but this was reserved for when it was really cold. The last element was the cooker; cooking meals in the evening meant the boat quickly heated up so we made sure there was plenty of ventilation. We could often rely on the cooking method on a winter evening to bring the boat back up to temperature as well as providing a lovely meal!
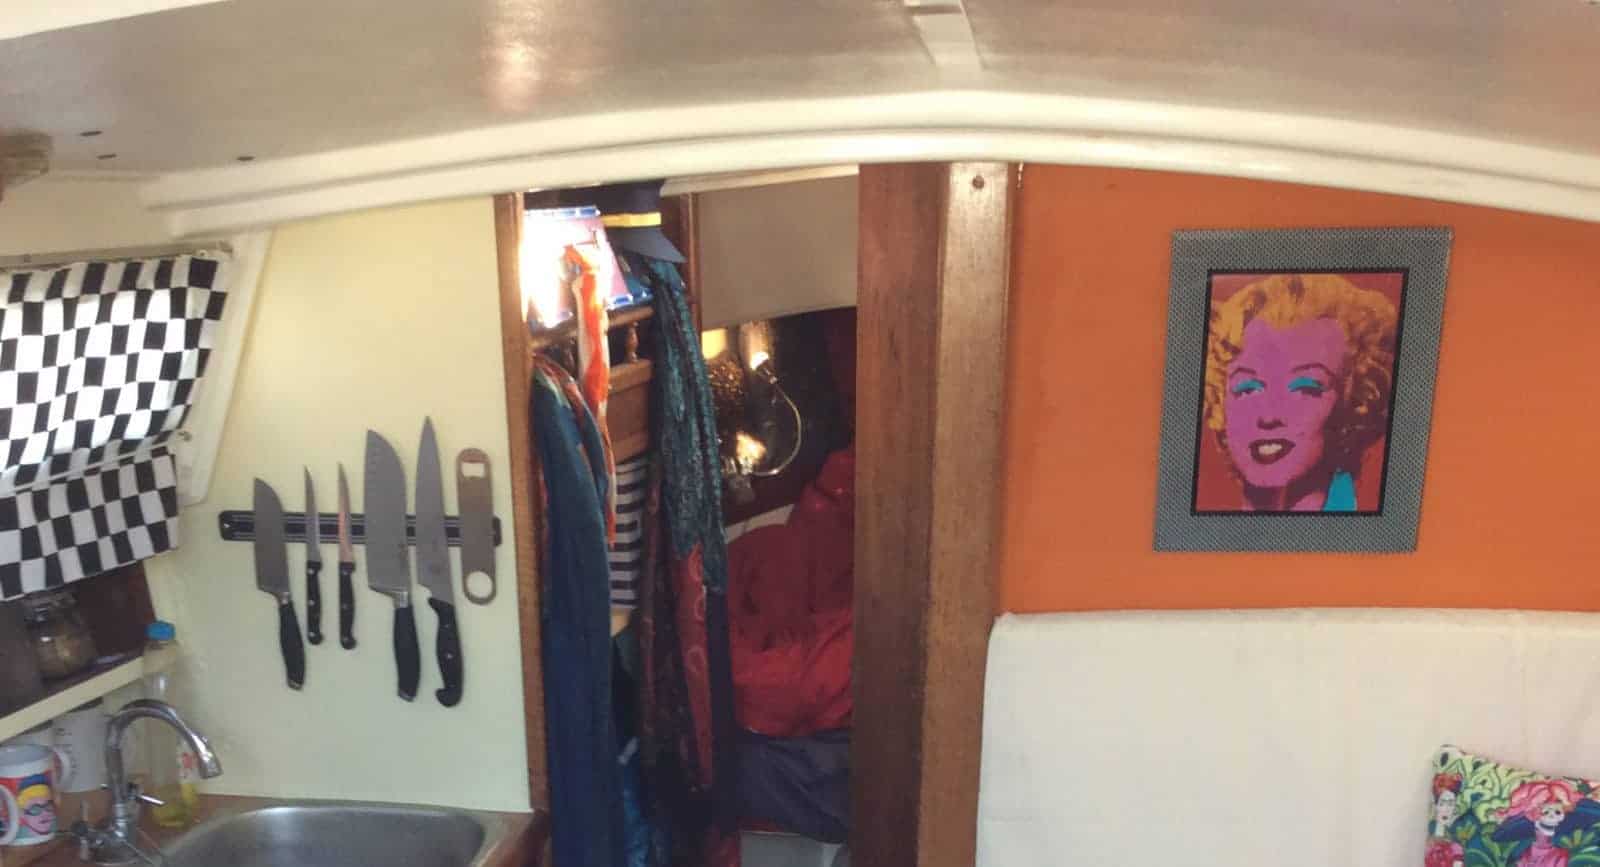
Choosing Your Thang’
Whilst we could talk all day about the process of furnishing a boat it really boils down to what your acquired needs are. At the time myself and a partner both wanted a cozy home so we had reached a starting point for our research. As you do with a joint venture we did our research and came to a compromise; a Mexican day of the dead twist theme. My partner had a different shade of orange in mind when it came to painting the feature wall, so naturally I waited until she went to work and painted it with my desired choice; a decision I would later come to regret. From here it was really all plane sailing a terrible pun you will here repeated among our posts.
Our Post Liveaboard Analysis
We had started off without any prior-knowledge and through our research and ability to keep on going we had achieved our goal. This was to create an affordable and cozy liveboard home. Whilst this boat was no longer traditionally a classical Jaguar 27 internally, it was our home and suited its purpose. It was the cheapest and is by far the cheapest way to live in Brighton and through its relaxing ambiance, came room for a passion in creating live aboard homes and renovations.
Outstanding !!
So my son is thinking of doing the same whilst at Sussex Uni.
Good idea or disaster . I swing between the two.
I was born on a Thames Barge – great but I didn’t do the maintenance. When I was a uni (Sussex) I lived in a 32ft Coach . Not a good Idea , but some crazy memory’s.
Be interested in your take .