My time is currently split; one-half of the week I’m working hard trying to earn money to renovate my boat and the other is half is spent renovating it! In between that, I like to write about it, but it’s a struggle as there’s not much time in-between to talk of.
So it’s a been a while since my last post although if you haven’t read it yet you can read it here. To summarise, I’m currently renovating a Seamaster 950; on a budget (no budget actually), working in the removals trade I currently scrape a living from moving peoples stuff, stuff you tend to get rid of when you live on a boat, the kind of stuff you don’t really need at all, to be honest, but let’s save that materialism conversation for another day.
Where I’m At
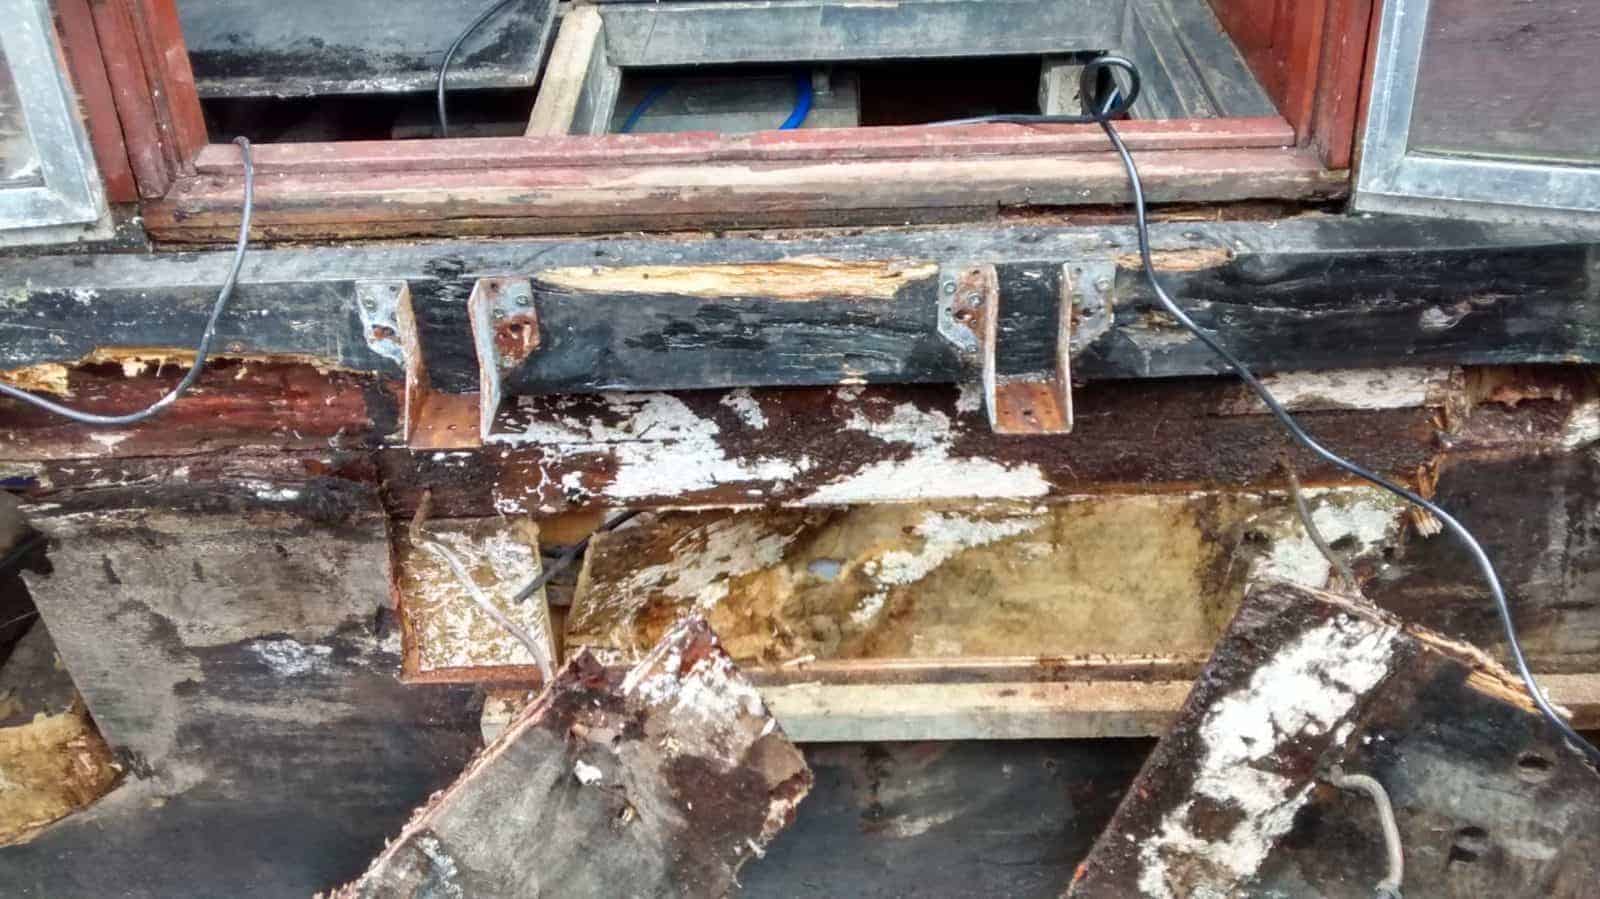
I completely removed the cockpit area as all of the supporting batons and plywood were rotten through. Dry rot and probably every insect that likes to munch on wood had been partying for a long time before my arrival. Slugs, wood lice and the cast of Bugs Life were all present; I was quite surprised by how many insects had made a home amongst what was now soil/ paper mache flooring. I was now faced with the remaining rotten wood and wondering how to restore the cockpit walls and supporting beams. Luckily I’ve got a helpful friend at the boat yard who doesn’t mind burning the wood that’s between removed from the boat. If it wasn’t for him we would have ended up spending more time doing runs to the local tip than on the boat!
Dry rot and you don’t stop
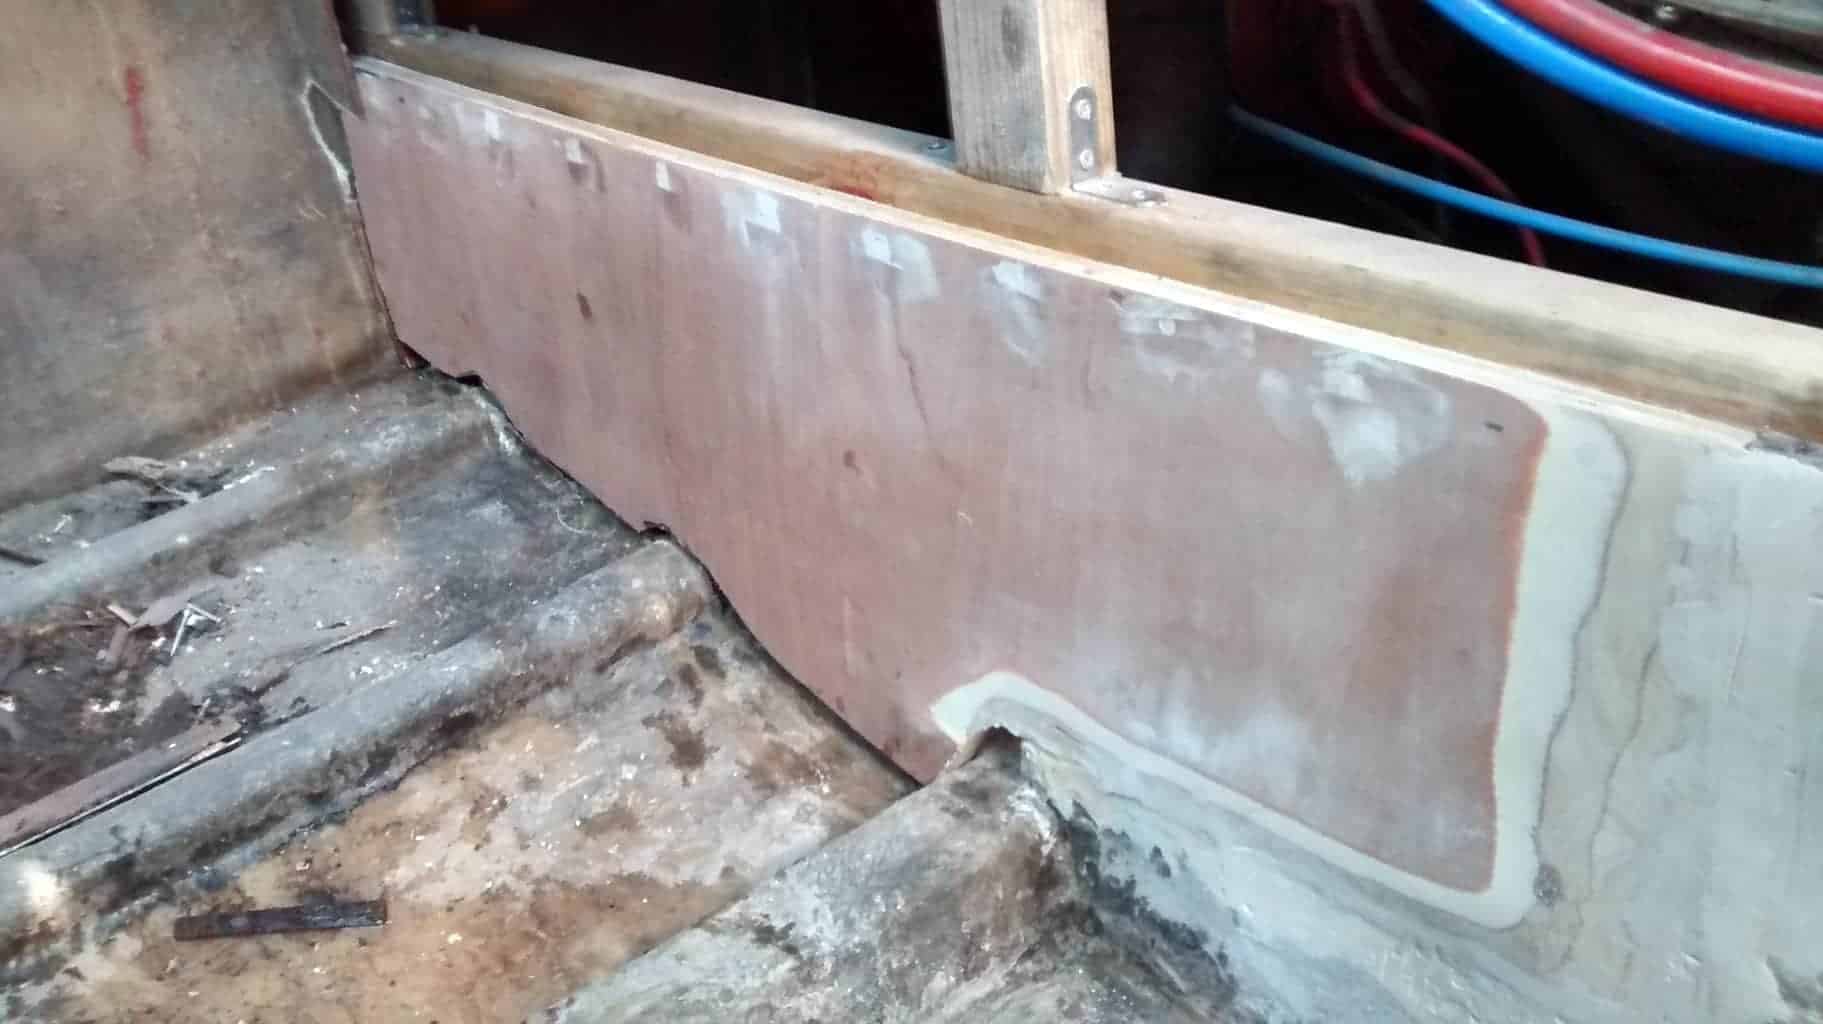
So what was I looking at? A bulkhead to be precise; bulkhead meaning “a dividing wall or barrier between separate compartments inside a ship, aircraft, or other vehicle.” The engine bay /cockpit is separate from the rest of the boat; most likely it was designed like this so if there is a leak then it can be isolated to the back of the boat only. Ideally, waves and breakers will be removed from a self-draining cockpit but there’s a chance a hatch, or fitting could leak filling this area up with water over a period of time. Apparently, this boat actually sunk in Bristol and rumour has it it was because of a leak in the engine bay. In short, the area at the back of the boat needs to have a sealed wall to keep the rest of the boat safe. It’s worth mentioning if your boat is taking on this much water you’re pretty screwed but giving yourself a good chance is what matters, automatic bilge pumps and alarms will work in your favour. This wall was now rotten; being slightly intimidated by woodwork I choose to chop the rot out instead of ripping it entirely out and starting again.

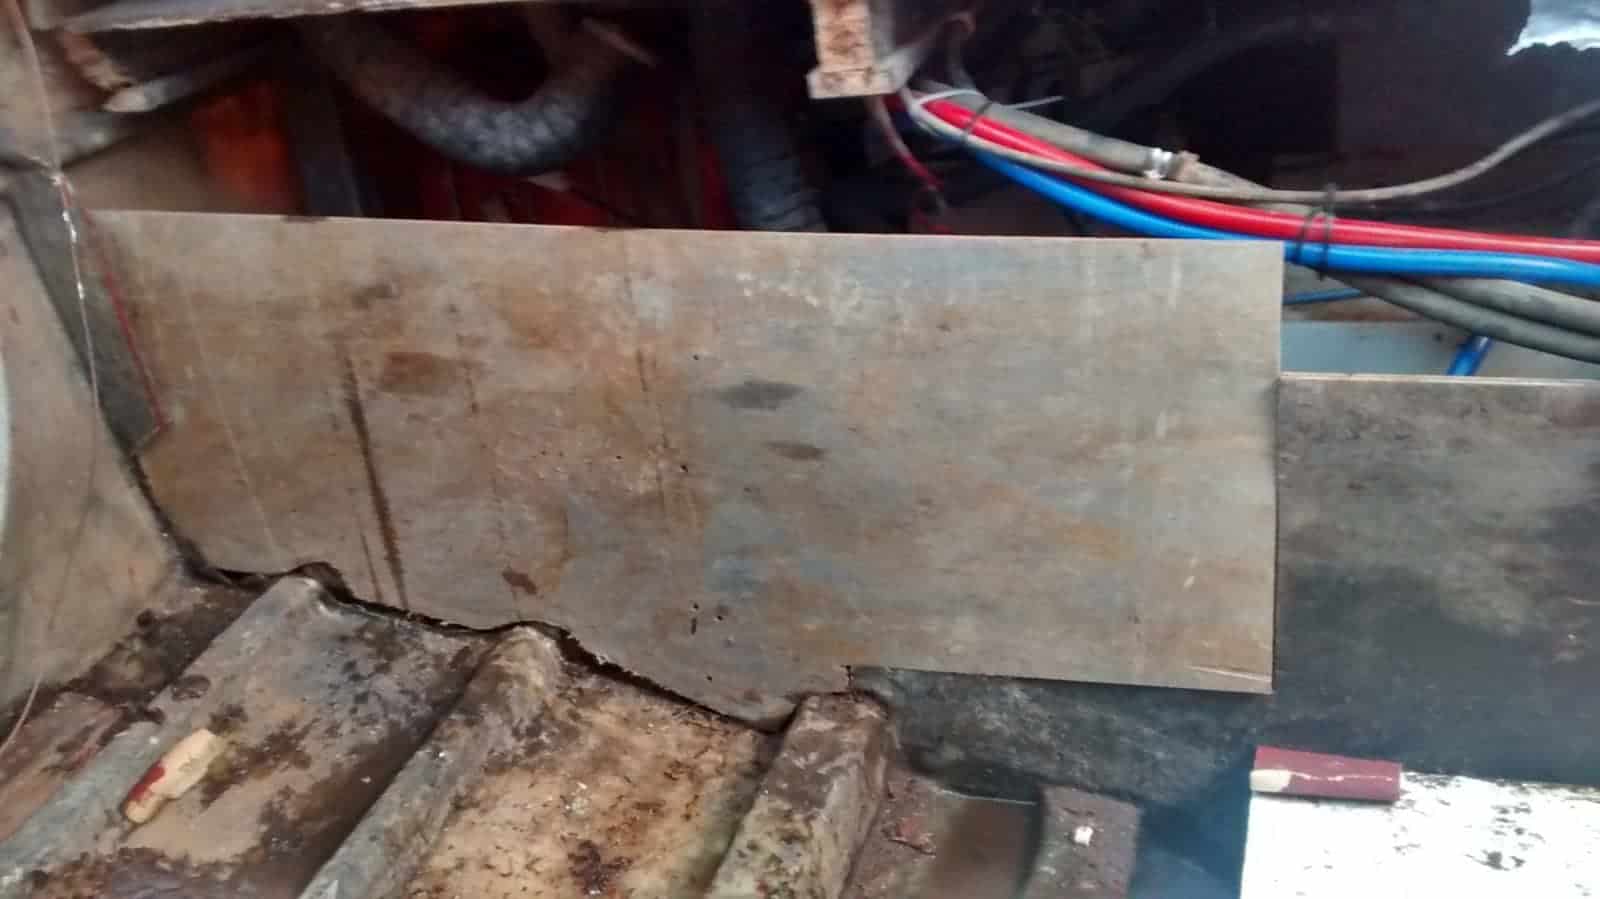
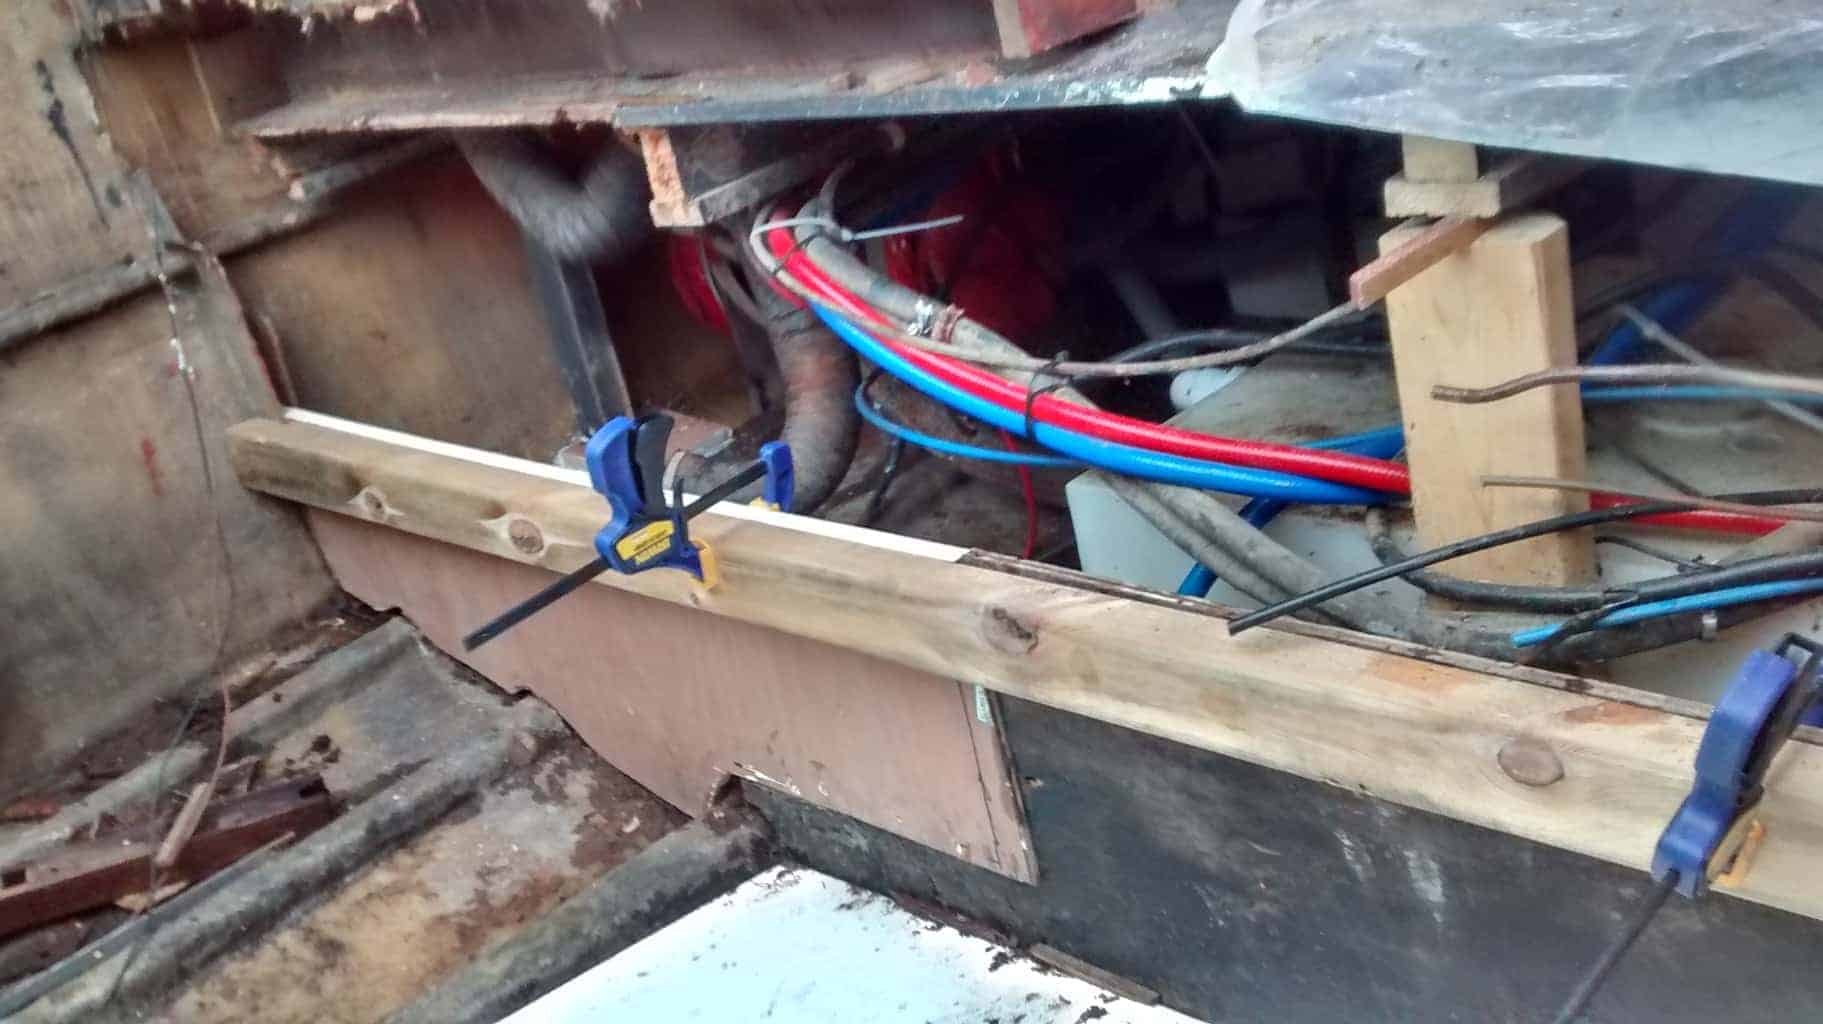
To cut the plywood I used a wooden baton with a spirit level on top to get my line as straight as possible. This is easily done if you screw one side of the baton in first allowing the other side to pivot to find your level before screwing both ends. You’ll need to seal those screw holes later but don’t worry it’s fairly straight forward. Now you have a straight line it’s time for the big chop! The cutting was done with a Titan 500W 85MM MINI Circular Saw; a recent purchase and one that I am most proud of. It’s amazingly useful; it cuts 25mms deep and is small enough to operate in enclosed areas. Care should be taken to make sure hands and other extremities are well of the way as it does have a tendency to jump if you push it too hard across sheet materials. Boats already cost an arm and a leg without you having to chop one off!
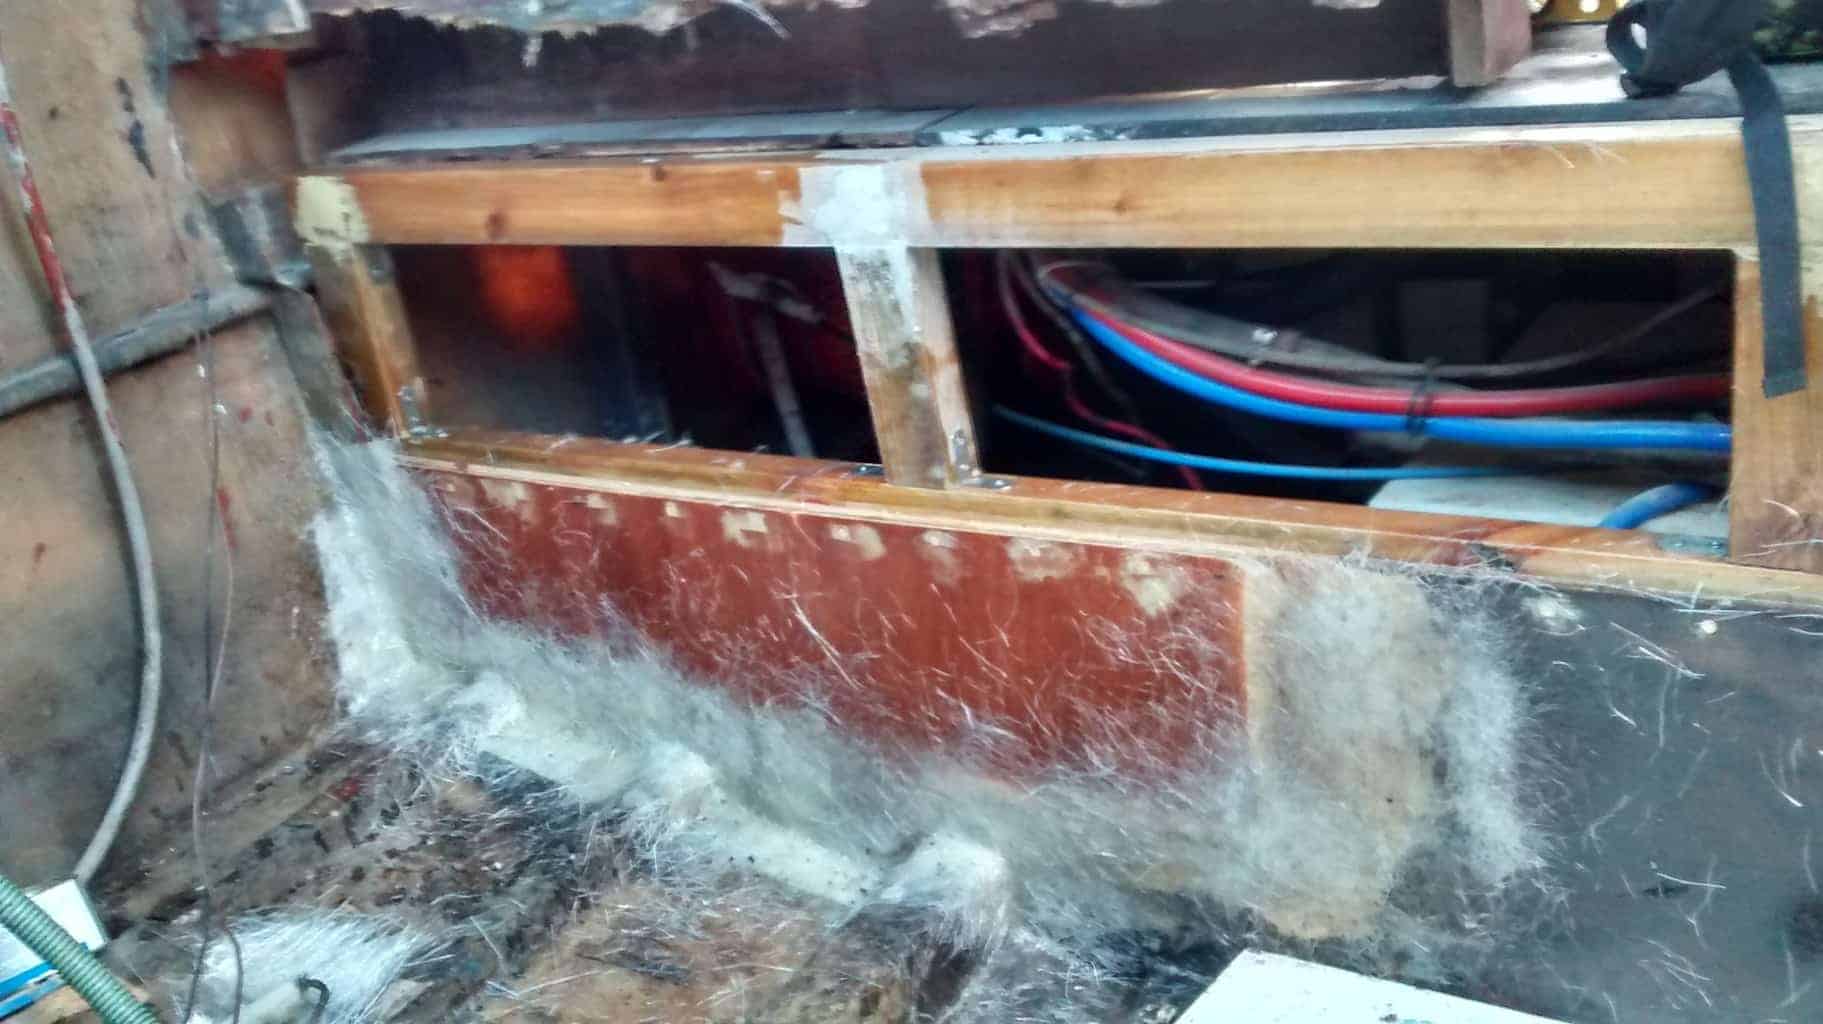
After a discussion with a friend who’d come to visit the boat that day and help me collect some wood, we decided that a box frame behind the plywood would create both something stable for the beams to connect too and a backing to join two sheets of plywood together with strength once laminated and covered in resin.
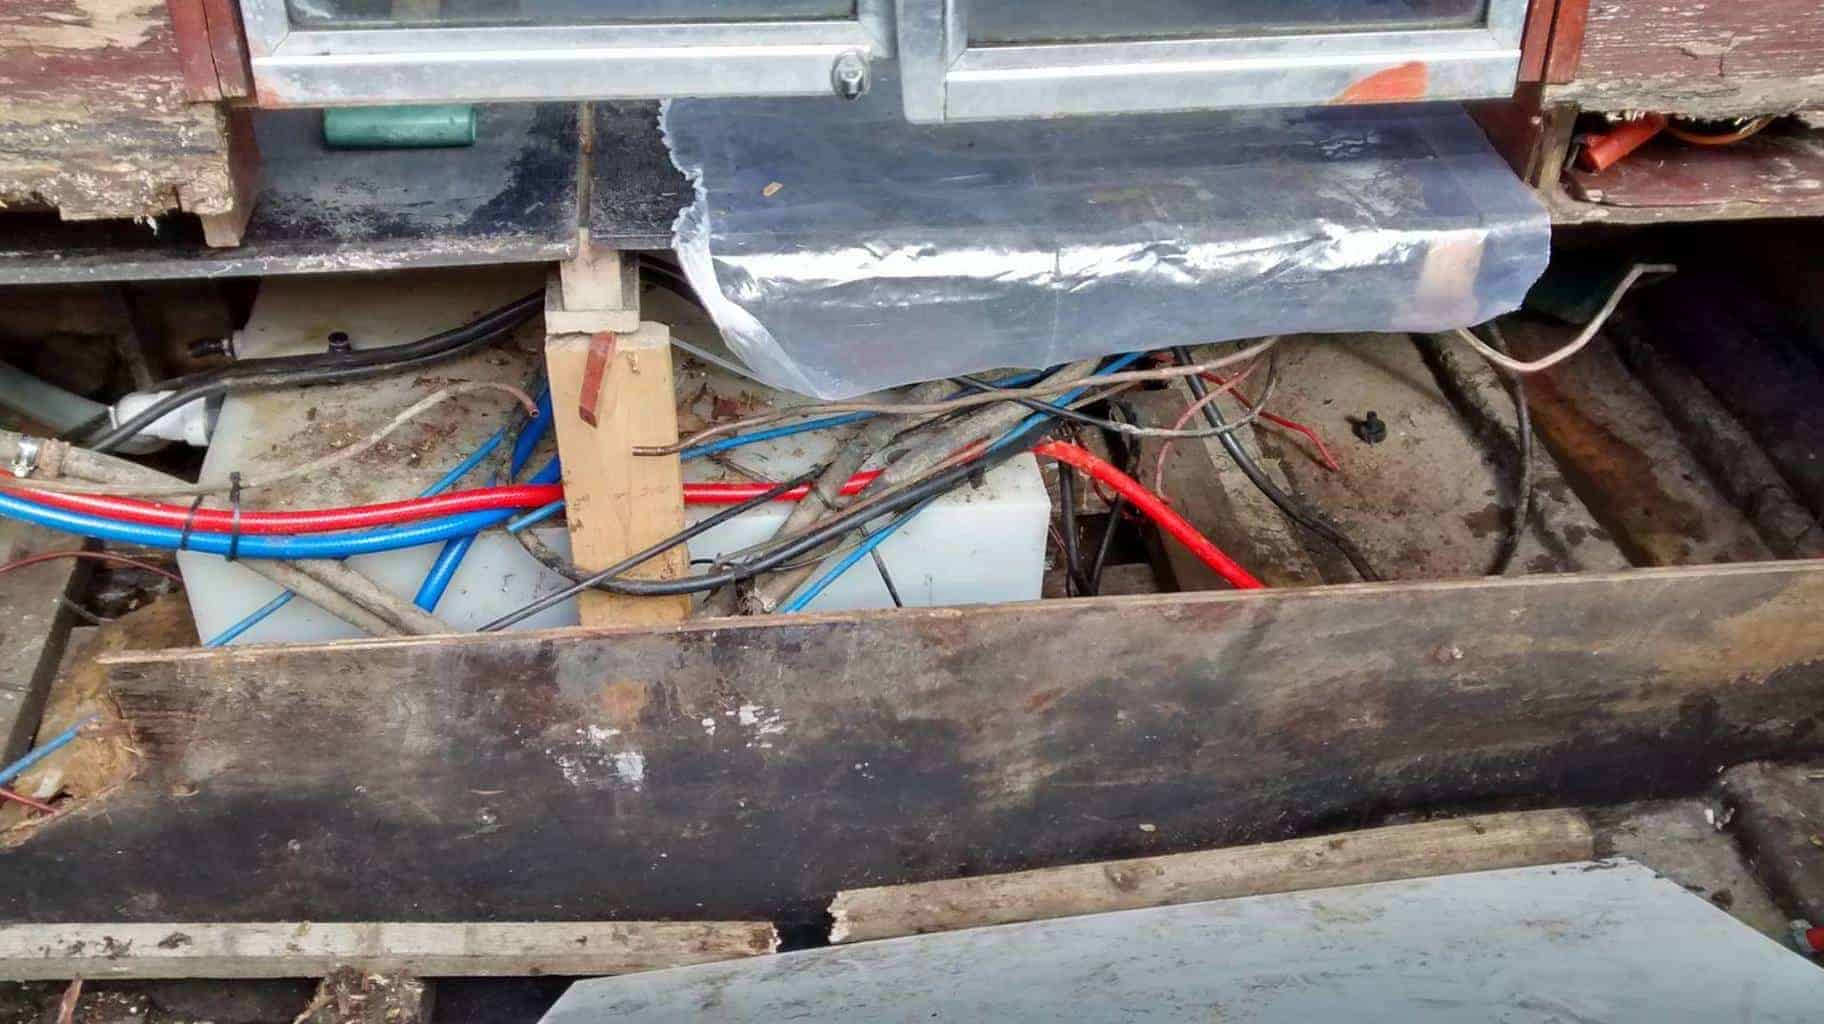
Unfortunately, one piece of the plywood on the port side was fully rotten so this had to be removed right down to the bottom of the bilge. It was time to learn to scribe awkward patterns out of plywood. Uh -oh!
 I won’t go into a massive amount of detail regarding my template cutting as consider myself to be a learner, but I created a crude scribe by drilling three holes in small baton of wood that was big enough to hold a sharpie pen. I cut the end of the baton to a point so I could drag it over the bottom of the boat, transferring the pattern to a roughly cut piece of template plywood I had lying about. This gave me my pattern which I could now transfer to my more expensive bit of exterior plywood.
I cut my first awkward shape; it didn’t fit like a glove or slot in like a jig saw puzzle but I was happy with the results none the less.
Now it was time to start getting it fibreglassed; at this stage, you will want to make sure your plywood is coated in epoxy; as many layers, as you can get on it before getting bored! You can use a two part wood filler to fill in the voids, but be aware that not all of them have flex so if the plywood moves it could crack. I personally use two part polyester body filler which works fine for me, if I need it flexible I can add a flexible additive to the mixture. Contrary to popular belief, polyester resin/ filler will stick to epoxy especially if the amine blush residue from the cured epoxy has been removed. If you’re massively worried you could make fillets, from epoxy resin and talcum powder.
My piece of plywood was a lot thicker than the exisiting sheet so I had to sand like a bastard to match it in and make it look like less of an eye sore. A sensible person would have bought a sheet that’s the same thickeness but due to not being able to access wood easily I picked the hard route (as I often do) and chose a piece that much thicker.
The laminating was by far the worst bit, I wish I had picked woven strand matting but instead I went with chop-strand. I hadn’t fibreglassed in a while so I was rusty and didn’t wet out the fibreglass enough. When your doing things by yourself and learning from youtube videos and forums things go wrong; it feels like you’re reinventing the wheel a lot the time and the reality is that a job is never as straight forward or as easy as you think it will be.
So lots of sanding and buckets of resin later, I had arrived at a half decent state. It still needs some tidying up, but for a wall I will never see, it looks bloody awesome.


As the boat work progresses, so do my thoughts about life aboard and now I have a goal of creating an affordable home for myself and my partner so I can pay off all of my debts and do the things I enjoy to do (working less). An inspiring quote I recently read from a boat builder named Fergal is, “My goal is to build a life I don’t need a vacation from, I feel I have reached my goal.” This was in reference to a boat that he had recently renovated for his disabled son and partner. I’ll just leave you with that thought!

Inspiring.
Awesome ? work
And I am learning from your blog to improve mine.
Subheadings are my next thing to try.
Thanks man. Keep me coming.
P.s. That hidden wall looked super tidy.
Haha cheers Dude- Hope everything is alright in Yoland – keep it WordPress is awesome!
What is the best way to remove wood that has been glassed on I.e. a rotted worktop? I brought a multitool, I’ve not tried it yet any suggestions.
Kind Regards
Hello buddy, do you have a photo, a multi tool is going to take quite a long time. You could possibly use a plungesaw and set to the exact thickness of the plywood. I use a Titan mini plunge saw which I picked up from screwfix. Its the tool I use the most, worth the money.