Table of Contents
want to know how to strip a boat?
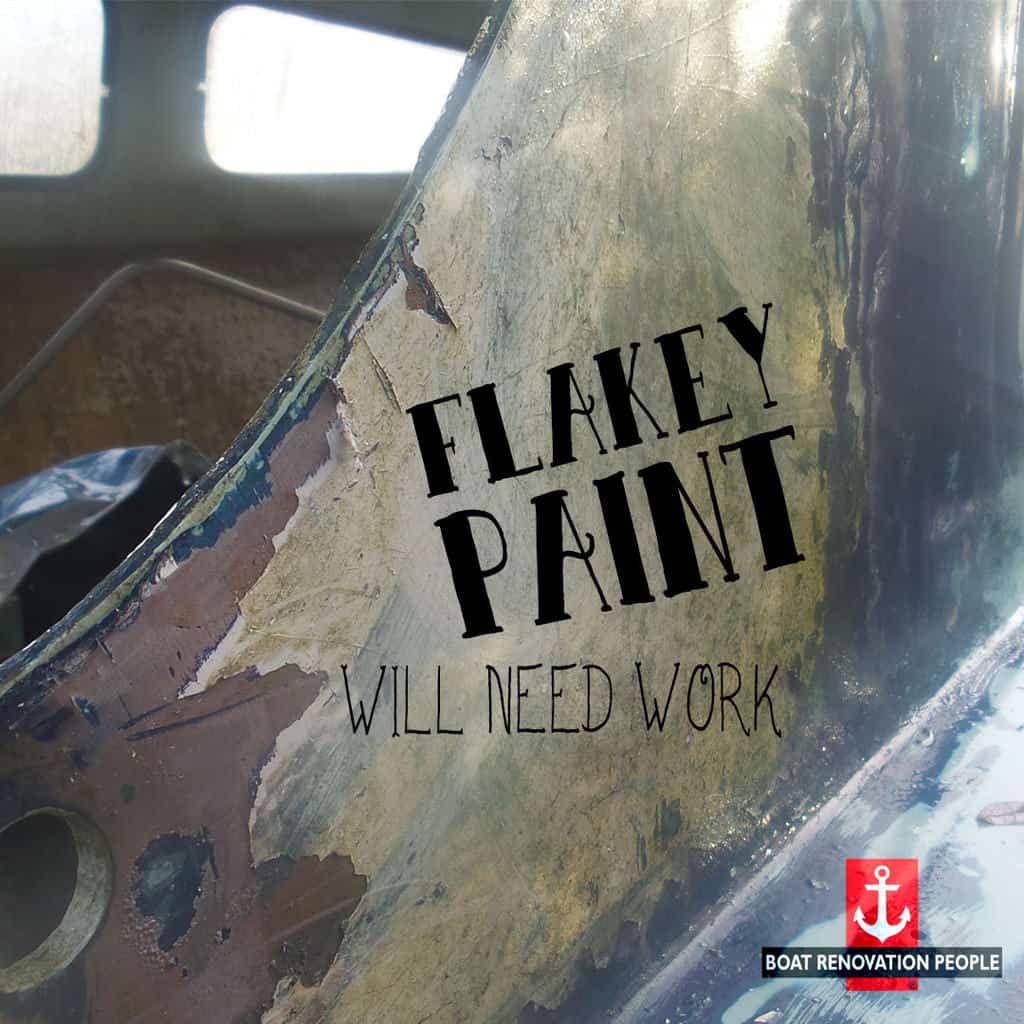
You want to paint your boat and the only real way to achieve a half decent finish is to put in the prep work and remove some of that old flakey topcoat. So what are the options?
Stripping a boat can be painstaking work. It can be hazardous, messy, expensive, depressing and can often make even the best of craftsmen cut corners.There is a lot to contend with but if you break the task down into a simple steps things will get a lot easier. Let me show you…
What are your paint durability requirements?
Before stripping a boat you will need to work out exactly how durable your paint needs to be once finished. There is no point in stripping a boat back to the original gel coat, priming and top coating if you only really need to key the surface and add a new topcoat. This will all depend on the finish that you require. Imagine you are only using your boat for occasional weekend fishing trips, the probability is that it won’t need to be coated with a paint that lasts for 30 years, neither will it need to facilitate a herd of drunken elephants. With that in mind here are some simple questions you must ask yourself, is it:
- A working boat that has heavy foot fall and is in constant use? Use 2 pack.
- A liveaboard that only has the occasional person smoking a cigarette on the roof and a bi-yearly wash? Use 1 pack.
- A racing yacht that needs to stand out from the crowd, be constantly used and look good? Use 2 pack.
- An occasional weekend fishing boat? Use 1 pack.
So to summarise; if you want to paint, spray or roll your boat with a 2 pack high durable marine paint, you will need to remove all of the less adequate 1 part paint first. A 2 part paint will only be as strong as it’s underlying surface. However, If you want to add a few layers of topcoat to get it through the next few seasons then a 1 part paint will be more than adequate. Notably, you will always want to key the surface and use a compatible paint depending on the manufacturer’s requirements.
Getting Information From Old Owners
This isn’t always the best source of information, but if you’re still in contact with the owner or even better the owners before of a boat, it may be worth finding out what paint was used before you go blasting layers off your pride and joy. If you know exactly what has been used on your boat then you will find it a lot easier to remove especially if you plan on using a chemical stripper. Knowing what the existing paint is will determine which paints will bond. For example. some 2 part paints will eat 1 part paints, they won’t bond and you’re wasting your time. Epoxy will go over 1 part paint but will only ever be as strong as the underlying 1 part paint. Questions to ask the old owner, is it:
- 1 part or 2 part resin or paints?
- Enamel, polyester, epoxy are just some other the many types of paints and resins used in the marine environment. All having different chemical compositions and requiring different chemical strippers depending on if you want to preserve the condition of the underlying surface.
What quality of finish do you want?
Yes that’s right, thinking about a finish might sound a little day dreamish but your prep work will be the deciding factor on how good your finish will look.
 Factory finish – often sprayed, but can be achieved by hand painting depending on experience. A beautiful topcoat, buffed waxed and polished with a “like new ” look. This finish comes with practice and perfecting your skills in preparation as well as painting.
 The good from a distance – often hand painted tipped and rolled and can be achieved with less experience but with a good amount of knowledge. Its often the case that a boat only really needs to look good from a distance.
 The That’ll do – two litres of masonry paint applied with a brick for that perfect artex look. For some reason, these are the paint jobs you often stumble upon renovating project boats.
What is the condition of the paint?
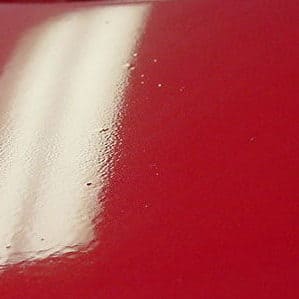
- Is there osmosis damage on the gel coat?
- Is the paint flaking?
- Is it just old and needs a topcoat or does it need fully sanding back?
- Is there cracks in the gel coat due to structural problems, flexing surfaces etc. ?
Methods You Could Use To Strip A Boat
- Orbital sanders, sheet sanders.
- Shot blasting.
- Mechanical scrapers.
- Heat guns.
- Chemical strippers.
My Method For Removing Paint – Hand Scrapers And Chemicals
The boat yard I am working from currently has now power that’s immediately accessible. This meant that I needed a method for removing paint that doesn’t involve electricity. Sanding the entire boat down by hand would take forever so it was time to think about a chemical stripper. I would also need to remove all of the 1 part paint as I plan to use 2 part paints for durability. Before you even open your paint stripper get your safety goggles on! You’ll want a pair that
Before you even open your paint stripper, get your safety goggles on! You’ll want a pair that are fully enclosed. If you are in the UK Screwfix sell a pair of goggles for £1.39. There is really no excuse for not wearing them. Paint stripper can blind you fairly easy and unless you plan on being a blind boat builder it’s always a good idea to take your safety seriously. You should also use a mask for removing paint as it can often contain nasty chemicals.
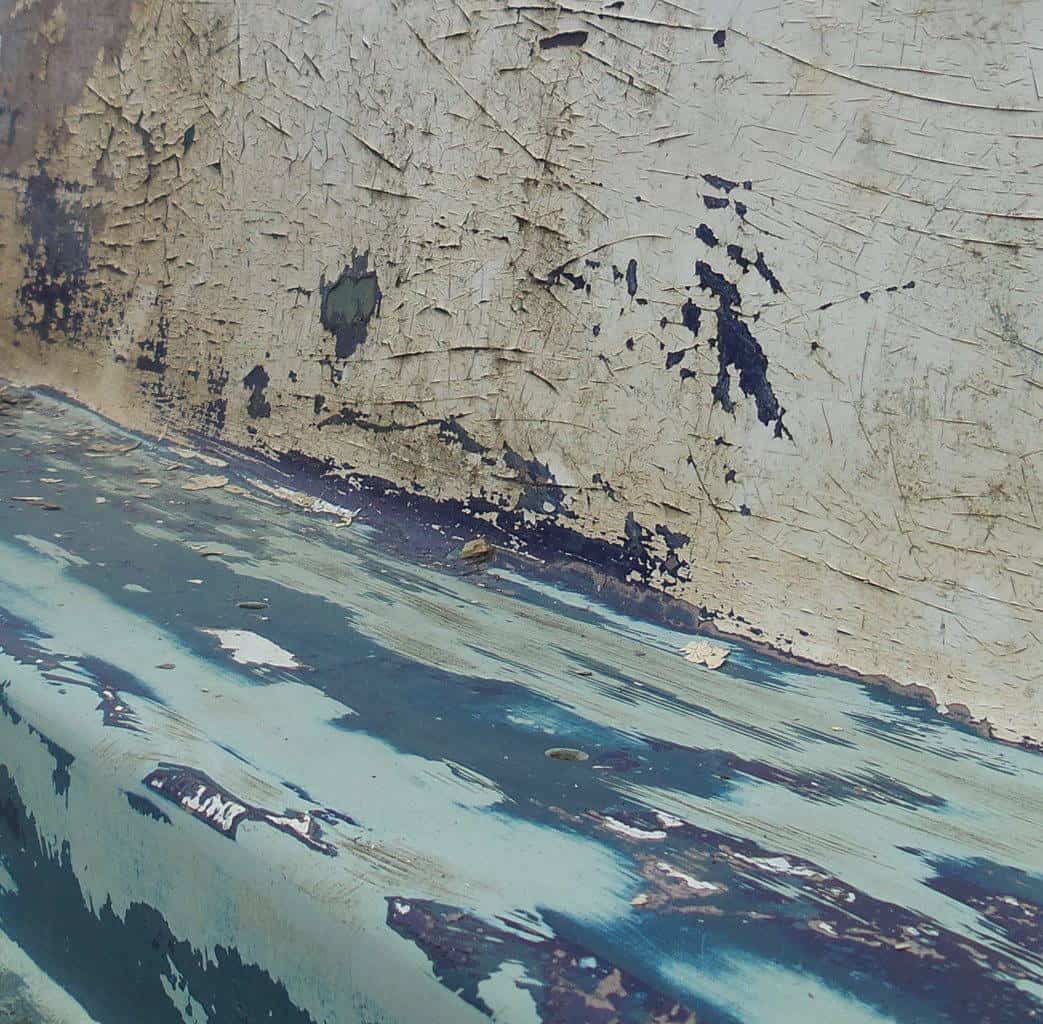
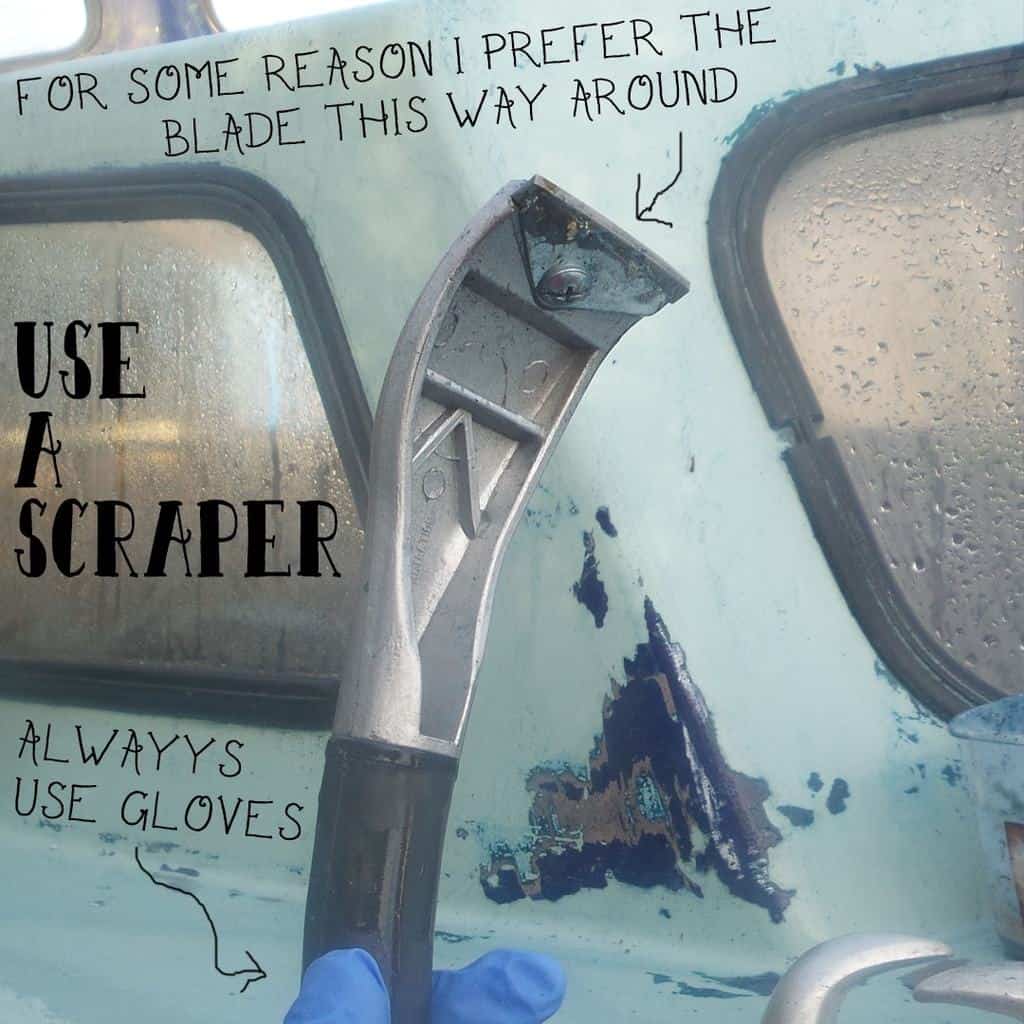
That’s right, all of the flaky paint will need to be removed. For this job I used a scraper that I could put a bit of elbow grease behind. A standard paint scraper or wallpaper scraper won’t really work in this situation. You will need something with a sharp blade. Be aware that this method works on my boat as it doesn’t matter too much if I scratch the underlying gelcoat. Why? because I’m planning on priming and fairing the entire boat before painting, which will cover up all of the minor dinks and scratches.
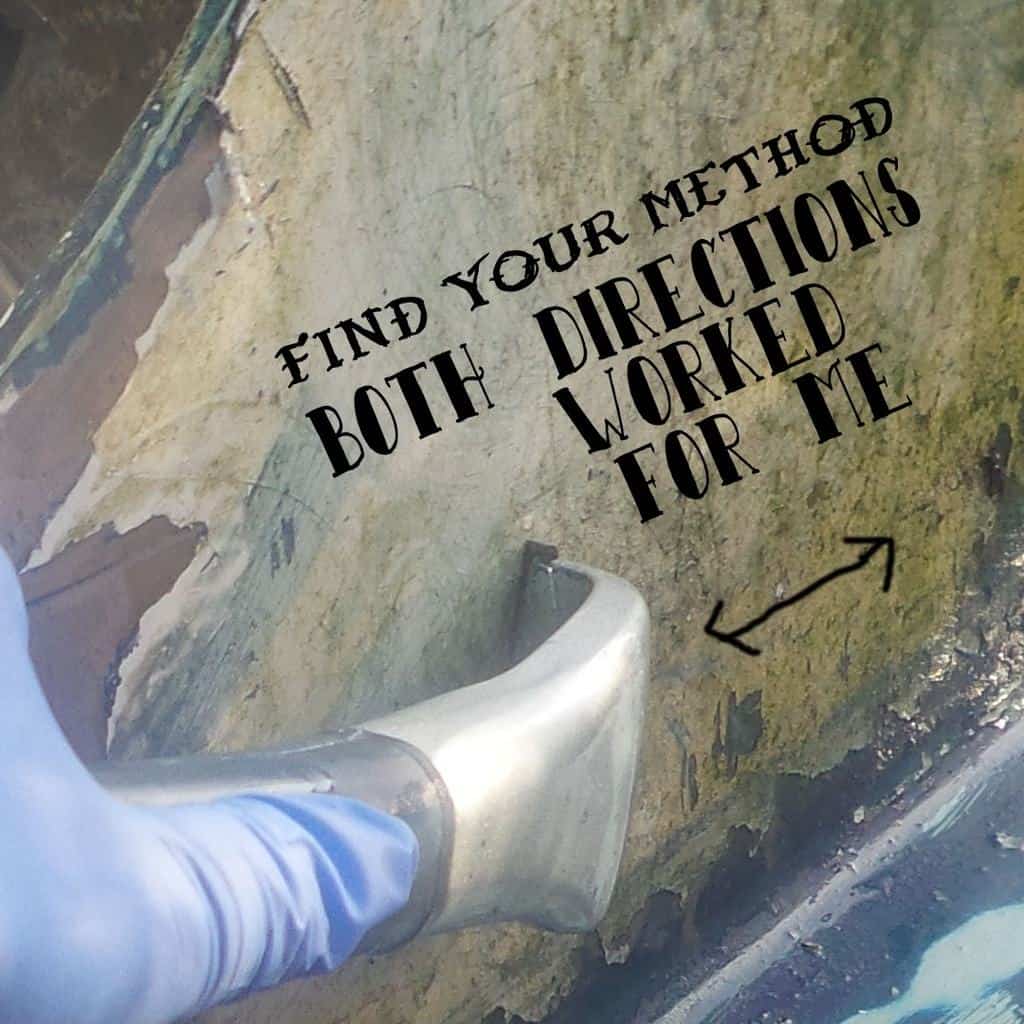
I removed the top layer of flaky paint because I didn’t want to waste tons of the expensive marine paint stripper. It’s also pretty messy stuff and bad for the environment. The less you can use the better. It takes a while to get your method down but keep-at-it the less you scratch into the gelcoat the easier the priming and painting will be in the end.
Like I’ve previously stated in this article different paint’s require different strippers. For example: 1 part and 2 part paints will each be affected differently. It’s hard to know exactly what has been used however if you have a stripper that will only remove 1 part paint then it could be tested on an inconspicuous area. With my
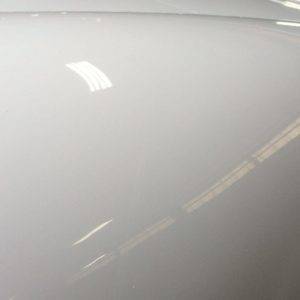
With my boat, I could see a baby blue color underneath a few layers of paint. Due to how smooth and intact the underlying blue color was I guessed it would be the original gelcoat. A quick test and I could see it wasn’t affected by the stripper; I now knew my work could begin. I used Owatrol Marine Strip – it’s more expensive than other options but it doesn’t damage the gelcoat underneath.
“Owatrol Marine Strip will remove varnish, stains and anti-fouling from all surfaces such as wood, plastic, GRP and metal although it is not suitable for use on aluminum surfaces. Marine Strip is not effective on polyurethane paint and varnish, 2 component paints or baked-on paints and enamels. Once applied under normal conditions it will not dry but will remain active for up to 12 hours and can be easily washed off with water and a jet washer.” From the promain website
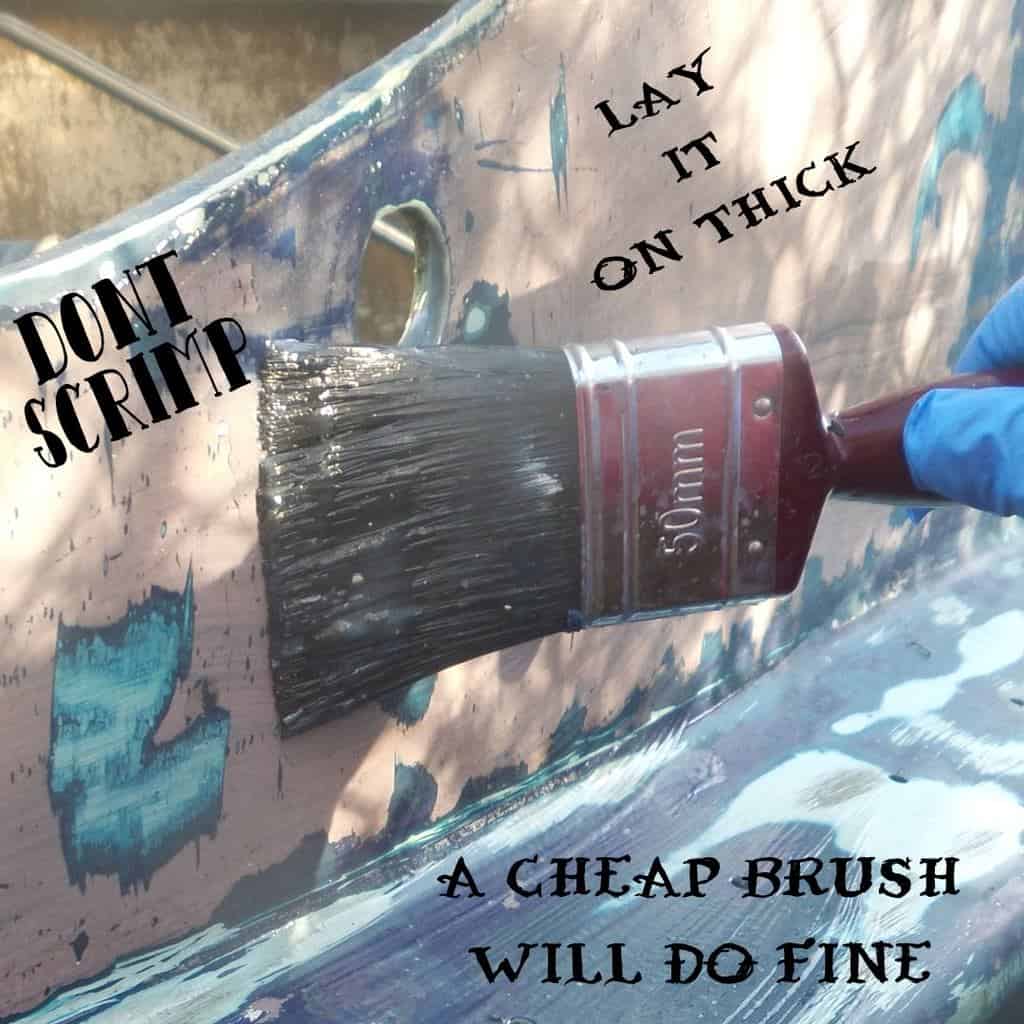
Put the paint stripper on fairly thick. One disadvantage with Marine Strip is that on a hot day the gel can dry up and loose its effectiveness. I’m next to a river and the temperate is around the 5-degree mark. The humidity is probably around 90% and lets just say it damp, any damper and we’d be moving into fog territory. I can get away with just leaving the gel to do its work however there is another method if you are working in the summer time. You can use a sheet or a film to lock in the moisture and act as a barrier to stop the gel drying.
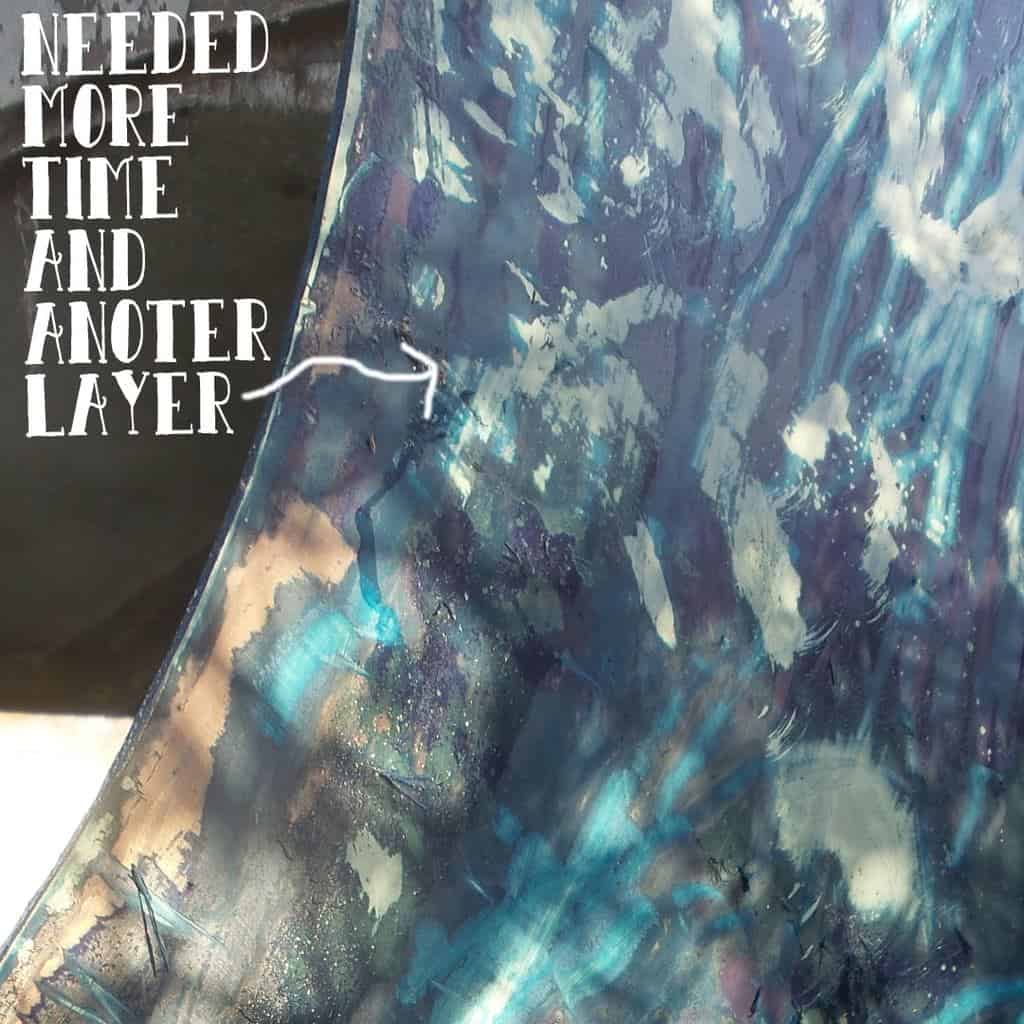
At this point, I could see I should of left it on for longer, but it would still require another layer. Notably though, the stripper had done the majority of the hard work leaving only the stubborn paint. I gave it another layer of stripper and waited longer for maximum effectiveness. I always advise reading the manufacturers description, for general application times.
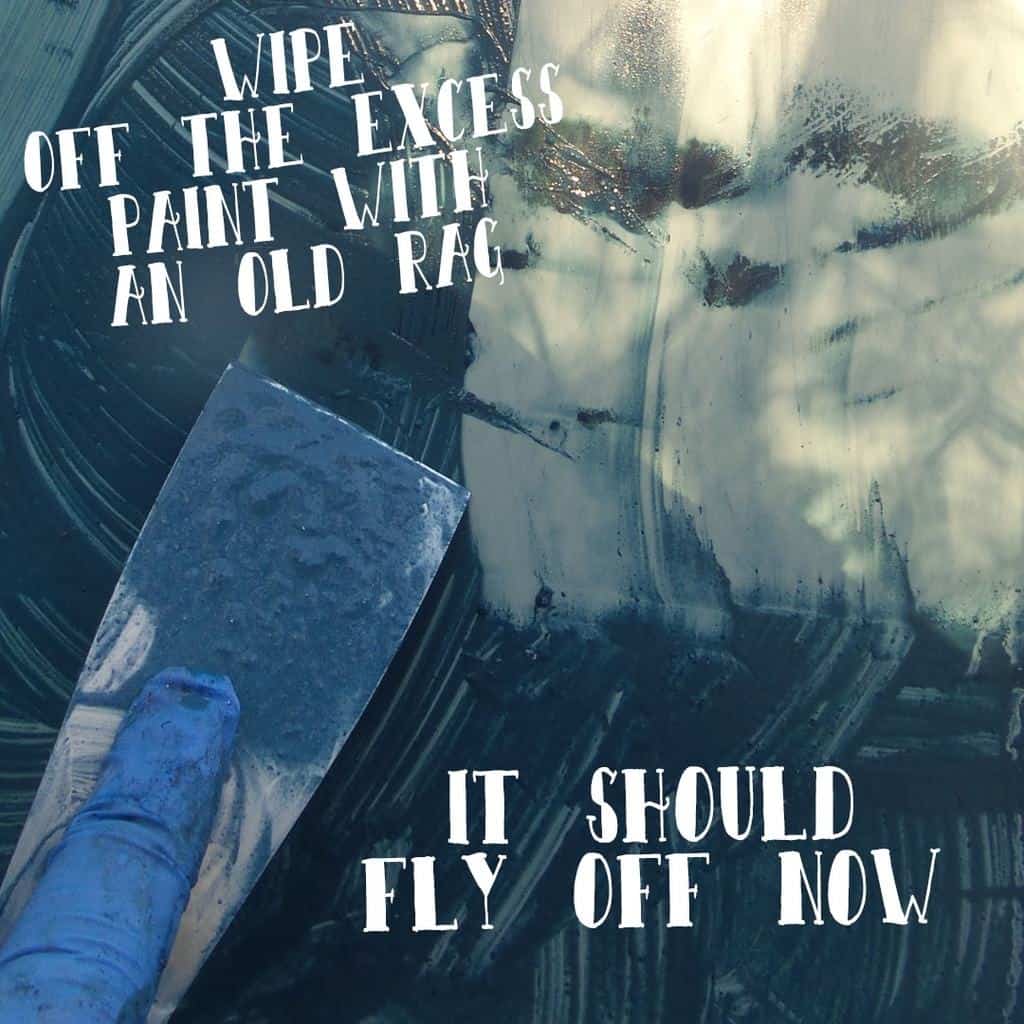
This part was the most satisfyingly, it was now scraping off with a standard wallpaper scraper. A blade wasn’t needed in this case, just something with a straight edge to remove the paint goop from the boat. I removed the majority of it using the wallpaper scraper and wiped it into an old ice cream tub. This way less stripper makes its way into the environment. You can then use an old rag to mop up the last bits of paint but dispose of it carefully.
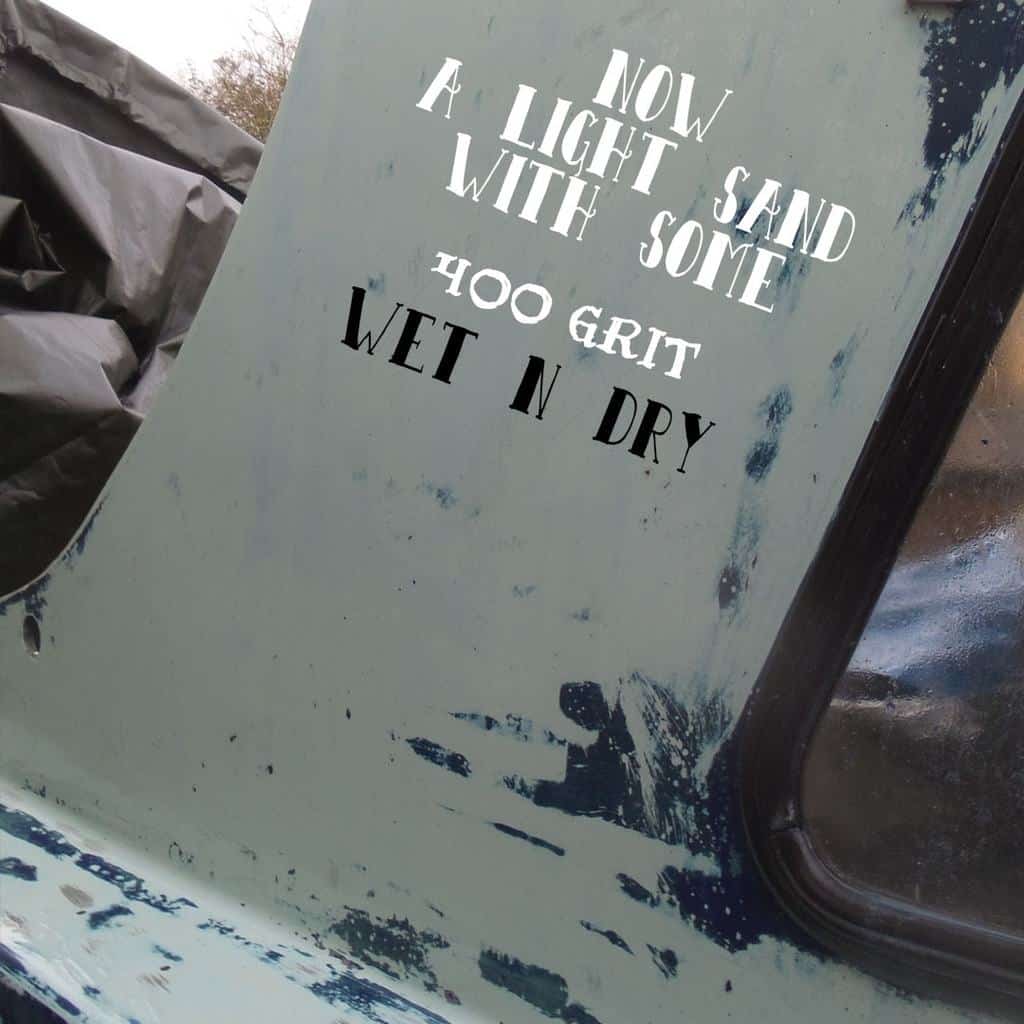
There may still be some blotches of paint present on your boat. Don’t worry these will come off fairly easy now. I like to use a 400 grit wet and dry paper before I prime but some painters recommend a 220 to 320 grit. I’m confident that my primer will stick well to a 400 so I’m happy with it. Again, you can always look at the technical specification sheet of a product. It should normally list the correct grit to be used prior to paint application.
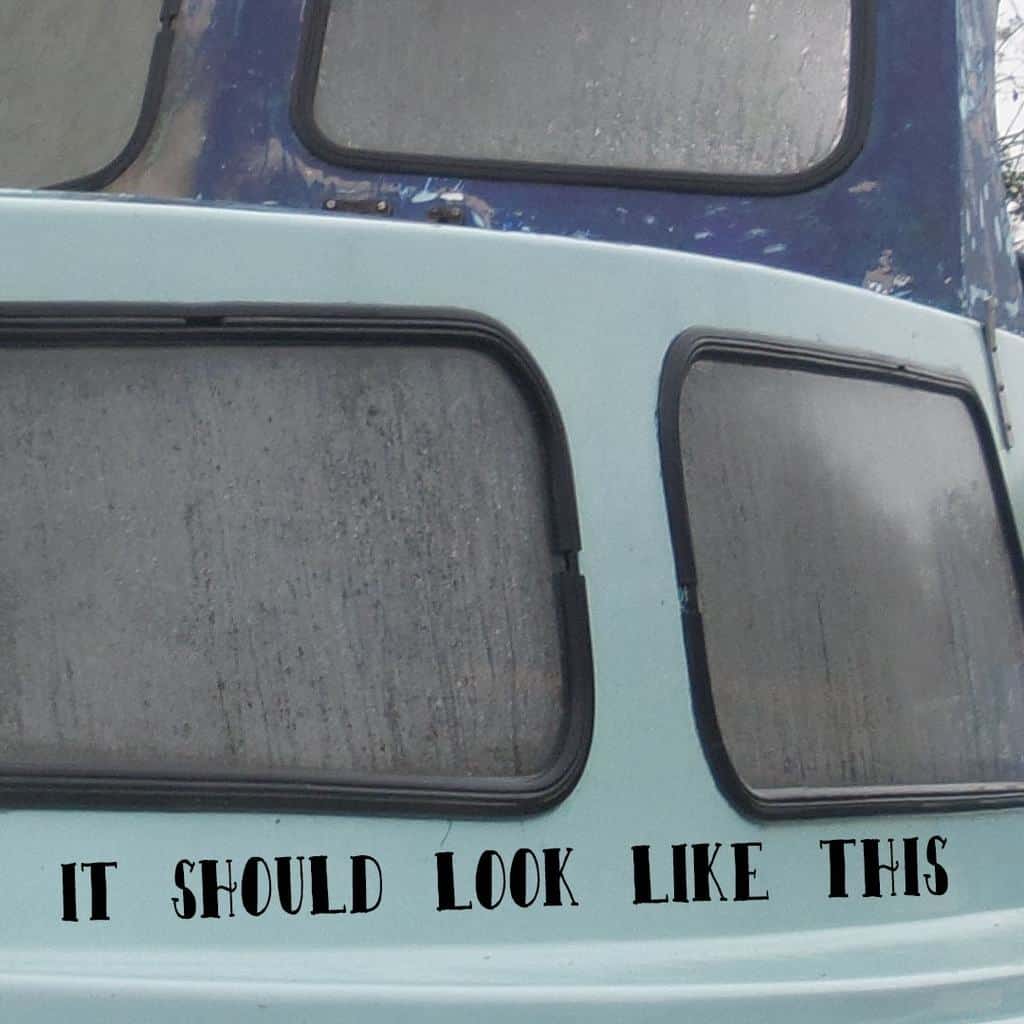
So after some manual sanding with a block, your gelcoat should start to really shine through. You may be lucky enough that the original gelcoat is in a good enough condition to restore. Or perhaps you can color match the gelcoat and use a topcoat paint only. Make sure you do further research whatever method you’re going to use but for me, this is an effective method to remove 1 part paints from a boat.
I was extremely pleased to find this great site. I need to to thank you for ones time due to this wonderful read!! I definitely loved every little bit of it and i also have you book marked to check out new stuff in your blog.
Thank you! We’ve just bought a river cruiser with lots of flaking paint, it seems the previous owner did a botch job painting over dirt and grime ??♀️ I’m just in the process of scraping off the excess loose paint before using the chemicals ???
Thank you. I needed to find something to strip off the paint on my roof and a small battery hand sander wasn’t doing much. I will nip up to a chandlery tomorrow to get the chemical stripper???